
Installing a Decorative Ceiling Medallion
A ceiling medallion makes a wonderful accent for a wide range of ceiling lighting types, from decorative chandeliers to ceiling fans.
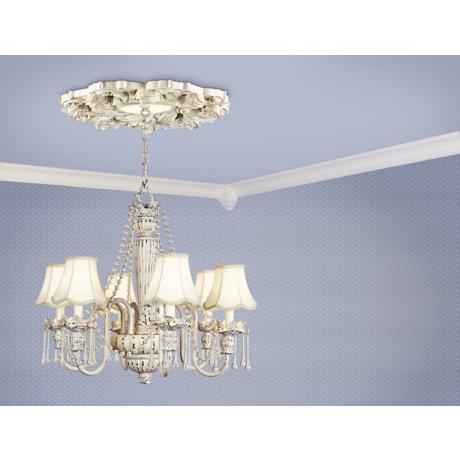
At its most basic, a ceiling medallion is a decorative element that dresses-up and enhances the area around the ceiling canopy, where the wiring for a chandelier or other fixture enters the ceiling junction box.

Lightweight and durable, medallions can be very ornate with a carved look or a decorative pattern, or they can come in solid colors. You can even paint most of the designs to match an existing room paint color.
They are simple to install for both new and existing ceiling light fixtures; just attach them to the ceiling surface with an adhesive or with several drywall screws. Here are some general instructions for installing a decorative ceiling medallion.
Installing a Ceiling Medallion with a New Fixture
Safety First! – When hanging a new fixture begin by turning off the power to the light fixture at the breaker panel or fuse box.
1. Do a dry-run assembly of all the medallion and chandelier or fixture pieces on the floor before proceeding, just to make sure everything fits.
2. Depending on your ceiling opening, you may find it necessary to enlarge the center hole of the medallion.
3. After checking the placement of the medallion against the ceiling, apply just enough adhesive glue to the back of the medallion so that the adhesive doesn’t ooze out when the medallion is set in place.
4. Applying the glue about an inch in from the medallion edge is a good rule of thumb. Allow a minimum of two hours for the adhesive to finish drying.
5. Apply a bead of caulk at the perimeter of the medallion to cover any gaps between it and the ceiling surface.
6. Smooth the caulk using your finger or a damp sponge. Once the caulk has dried, you can paint the medallion to match your existing ceiling décor if you wish.
7. Next, hang and electrically wire the chandelier or ceiling fixture, then attach the fixture’s decorative ceiling cap or flushmount as normal, making it tight against the surface of the medallion or ceiling.
8. Stand back and admire the results!
Installing a Ceiling Medallion with an Existing Fixture
Again, be safe! Before doing any of these steps, begin by turning off the power to the light fixture at the breaker panel or fuse box.
1. When installing a ceiling medallion where a light fixture exists, the fixture must be removed and reinstalled after the medallion installation is completed.
2. With the power off, carefully remove the light fixture — usually held into place with a couple of screws and-or a nut on a short length of threaded tubing.
3. Lower the fixture canopy and carefully disconnect the wires. This is a great time to give the fixture a good cleaning or polishing.
4. With the fixture down, simply follow the instructions above, installing the medallion, then reinstalling your ceiling fixture.
More To Explore
To learn more about ceiling medallions, read about our new line of repositionable, peel and stick medallions.
Or, check out our video “What is a Ceiling Medallion? Decorative Lighting Solutions from Lamps Plus” below:
Need Help with Ceiling Medallions?
Need help choosing or installing a ceiling medallion?
One of our trained lighting consultants can help — contact us or visit a Lamps Plus store near you.