


3+
- Photos


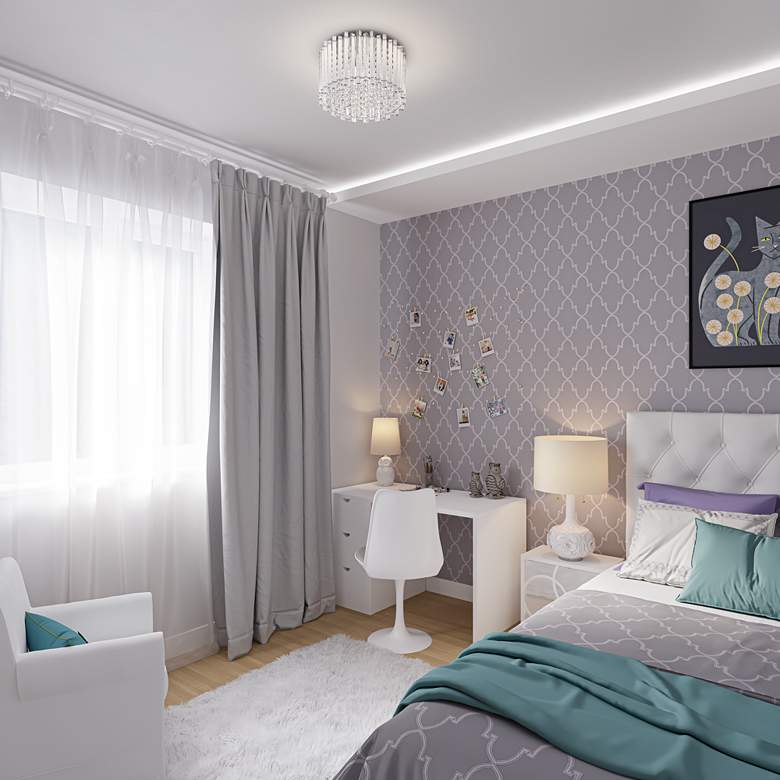
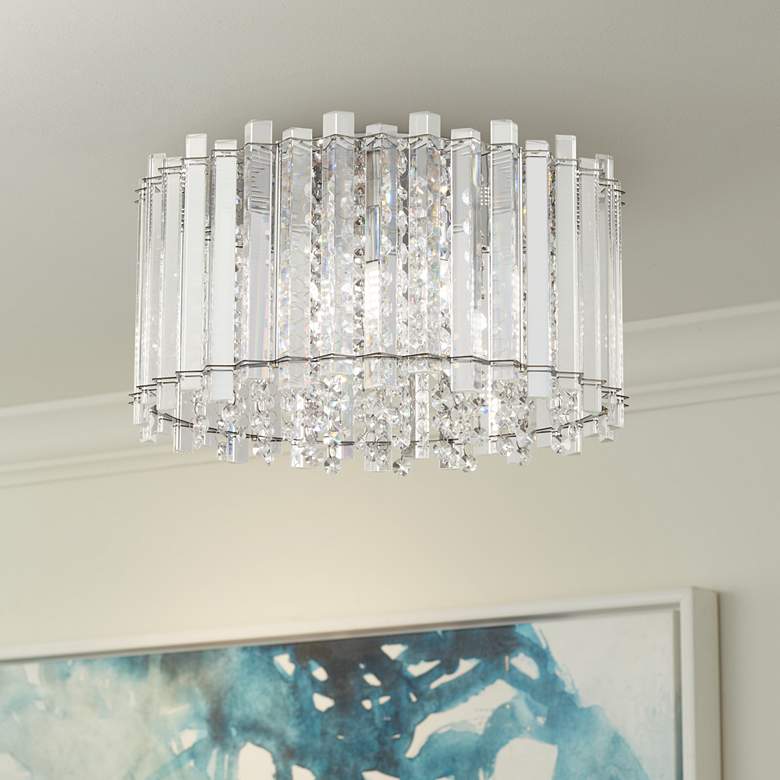
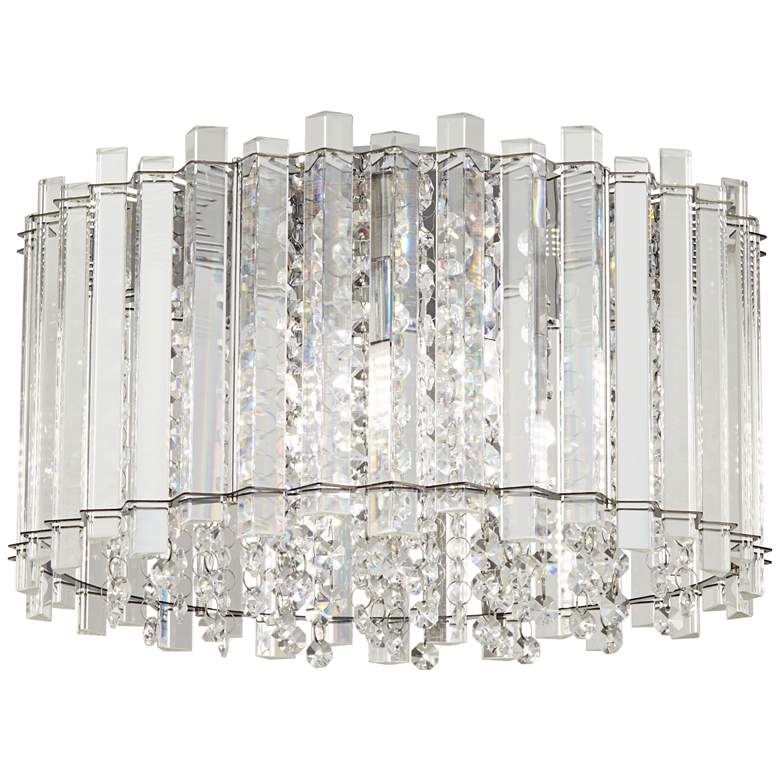
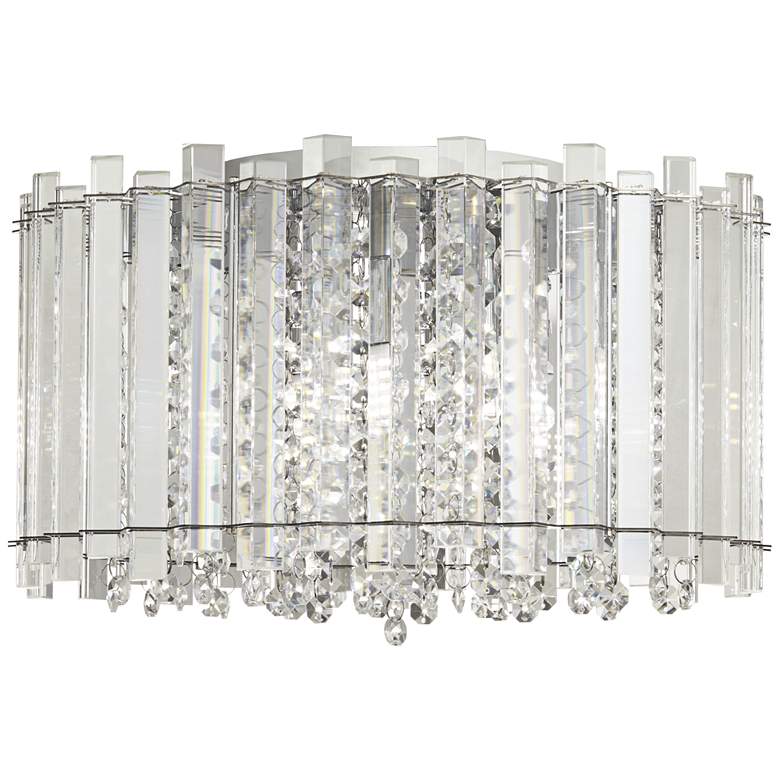
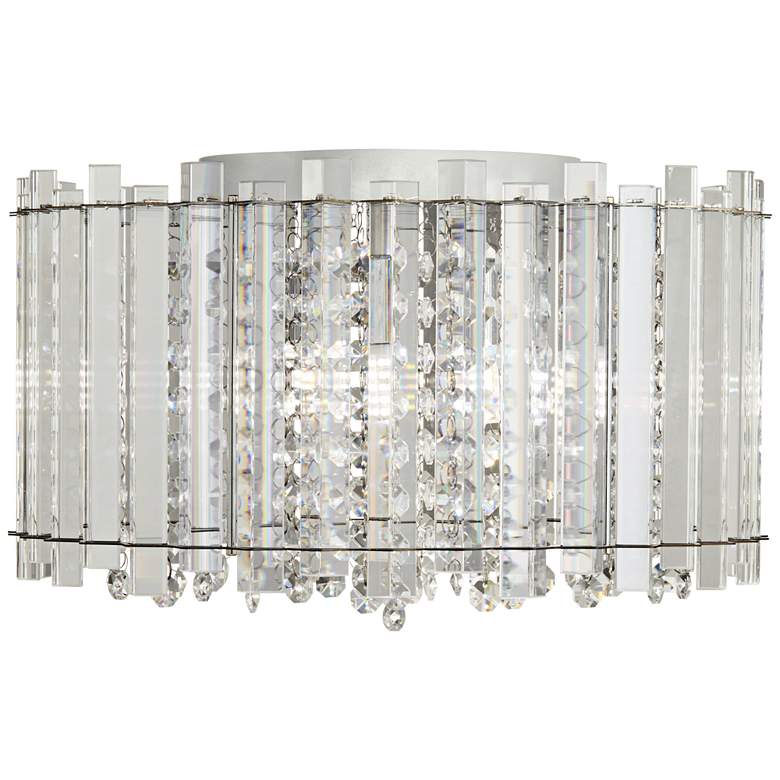
Francesca 14" Wide Clear Crystal LED Ceiling Light
Price: $349.99
Return Policy
We stand behind the products we sell with a 60 day return policy. The process is easy, just contact us to receive an authorization number. Certain restrictions apply. You can read our complete policy in our help section.

Francesca 14" Wide Clear Crystal LED Ceiling Light
$349.99
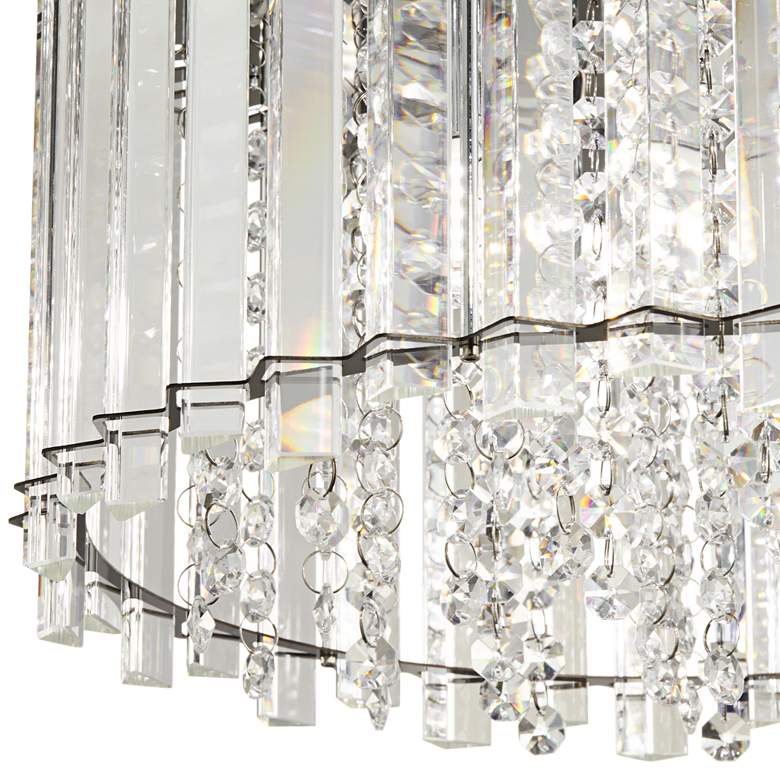
This ceiling light features crystal rectangles and strands, and comes with replaceable LED light bulbs.
Product Details
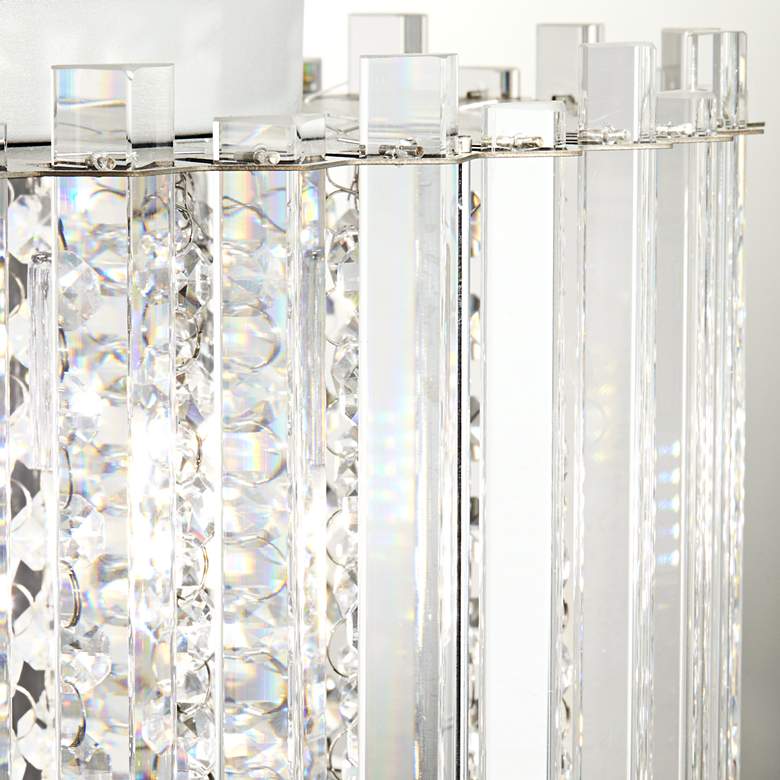
- 14" wide x 14" deep x 9" high overall. Crystal segments are 7" long. Canopy is 7" wide x 1" high. Weighs 8.36 lbs.
- Comes with four 4 watt G9 base LED bulbs that have a total light output comparable to a 160 watt incandescent. Each bulb is comparable to a 40 watt incandescent. Maximum 40 watt bulbs.
- Bulbs are each rated at 450 lumens. 3000K color temperature. 80 CRI. Dimmable LED bulbs.
- Crystal ceiling light from the Vienna Full Spectrum brand.
- Clear crystal glass rectangles and strands. Chrome finish metal frame.
There's no such thing as too much glamour and this crystal LED ceiling light proves it. The outer layer has class A clear crystal stems and these surround additional crystal strands. This energy efficient LED ceiling light is sure to catch attention wherever placed in your home.


| Style | Traditional |
|---|---|
| Finish | Chrome |
| Type | LED |
| Color | Silver |
| Brand | Vienna Full Spectrum |
| Height | 9.00 inches |
|---|---|
| Max Wattage | 60 watts |
| Number of Light Sockets | 4 |
Product Documents
For more information on our pricing, visit https://www.lampsplus.com/help-and-policies/faq/